My sim rig / 9 March 2026
Setting up a motion cockpit: screens, steering wheel and immersion
In this March 2026 tour of my cockpit, I show how I try to extend the on-screen interior into the physical rig. The project combines a moving seat-and-pedal section, a fixed structure for the wheel, and several homemade or adapted accessories. It is still a work in progress, with some mounting points and reinforcement clearly needing further attention in this configuration.
Separate the moving section from the screen structure
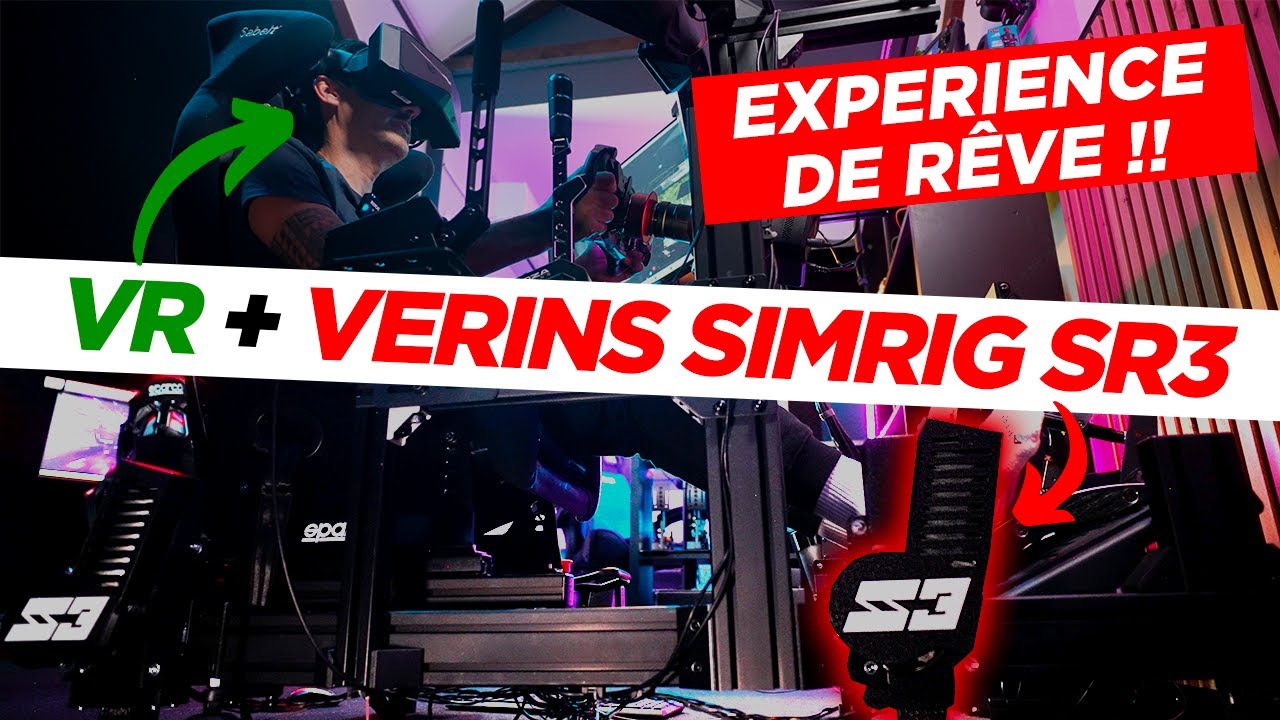
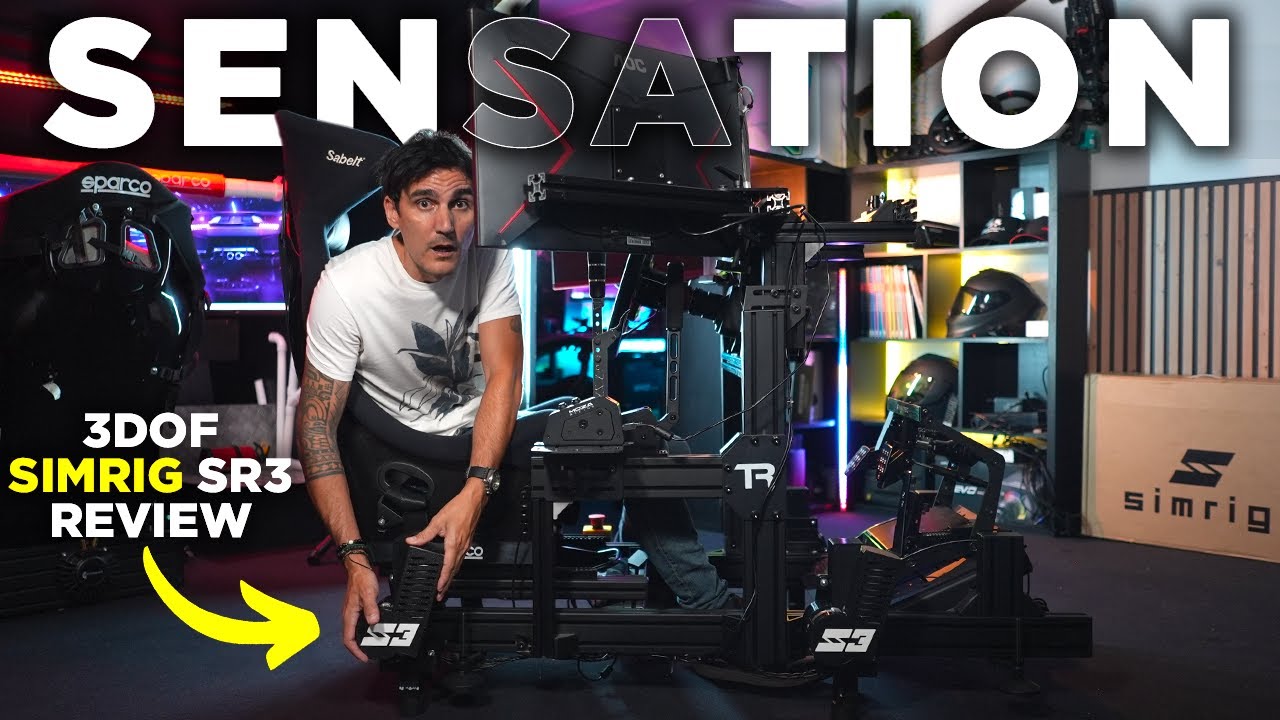
The Simrig SR3 actuators move a small chassis carrying the seat and pedals. The wheelbase, screens, shifter and handbrake sit on another structure. My intention is to keep the wheel aligned with the virtual interior while my body receives the movement.
This feels different from moving every part of the rig together. Here, I am looking for effects that suggest the body's movement inside a car, with fairly small amplitudes. The pedals move with the seat, so their distance from it does not change with each motion of the chassis.
The fixed section started as a raised monitor stand. I reinforced it to reduce its tendency to lean forwards under the wheelbase's weight and forces. It works, but I already want a more rigid structure, with a proper outer chassis surrounding the moving section.
Build an interior that remains accessible
Tubes establish the physical outline around the driver. Some attach with 3D-printed parts, while others use adapted brackets. One section comes off for access to the seat and goes back once I am inside. Removability matters as much as appearance, otherwise the scenery would make everyday use awkward.
I add panels on the passenger side to suggest a floor, along with a few decorative details. There is no need to rebuild an entire car: I concentrate on what is visible from the seat and on the joins with the screens.
The Dash Sim Studio side nets contribute to that effect. Connecting them between the moving seat and a fixed section makes them move with the rig. The seat harness is a separate item, in this case from Trak Racer. For rally driving, I remove the side net that would obstruct the shifter and handbrake.
Match the scenery to the triple screens
I use three 32-inch 1440p screens with a bezel-hiding kit. I returned to fairly conventional mounting extensions, which stay in place better on my setup. The aim is to minimise visible breaks between the screens, tubes and physical surfaces around the wheel.
That continuity also requires adjustments in Windows and Nvidia's display settings. The video shows the intended result rather than providing a complete calibration procedure. I mask stray light sources, particularly those coming from the PC, to keep attention within the game environment.
Some finishing details remain temporary. Rubber pieces loosen in the heat and a few brackets have play. These are things to improve, rather than finished solutions to copy unchanged.
Light that follows the image
Dynamic lighting uses LEDs inside profiles, a homemade enclosure containing an Arduino, and Prismatik. The software samples selected areas of the image to vary the physical lighting.
I position those sampling areas according to the parts of the cockpit I want illuminated, instead of simply using one strip across the full screen width. Moving a bright window across the desktop demonstrates the principle. In a game, entering shade or a tunnel can then change the light around the driver.
The on-track demonstration is not always obvious in this video. I explain that Assetto Corsa's tunnels make the effect easier to see. Prismatik also provides a fixed-colour mode, used for the red lighting in some camera shots. An additional light keeps the wheel visible on camera.
Give the accessories a purpose
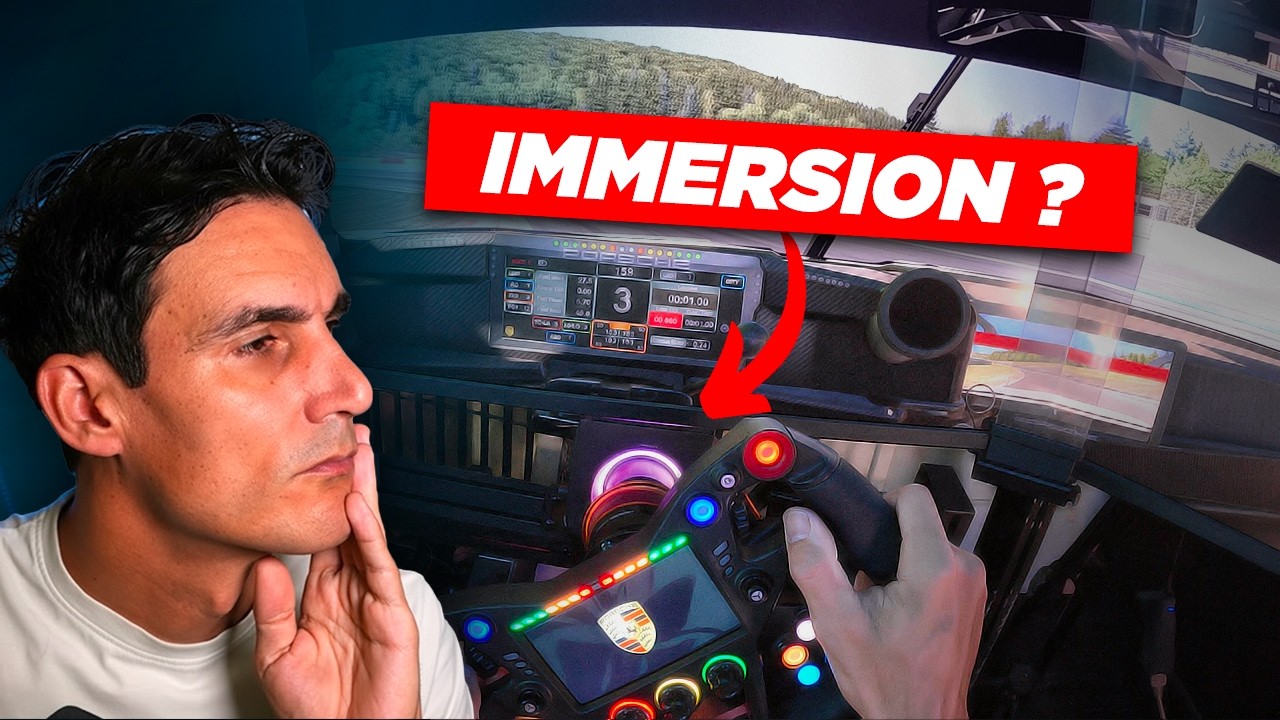
The Cube Controls GT-X2 connects through an adapted cable and Simagic's QR-A. In SimHub, I select its dashboard and use the Daniel Newman Racing plugin to customise lighting effects, including left and right proximity alerts.
An old iPhone becomes another display in a 3D-printed holder. The Lumirank attached to a tube also receives information through SimHub. Alongside it, an AVLS button box and a Stream Deck group accessible controls. Their positions may change as the cockpit continues to evolve.
Tune the movement, then improve rigidity
In Simrig Control Center, I keep fore-and-aft pitch low, use more roll, and add some vertical movement for bumps. I do not want constant agitation: the motion should accompany the driving.
The main mechanical limitation appears when using the shifter. Its support is connected to the screen structure and is not yet rigid enough, so a firm input moves the whole assembly. The next improvement therefore needs to address the frame. The physical scenery creates the immersion I want, but works best when its mounting points, access and peripherals remain consistent with one another.
Join the discussion on YouTube