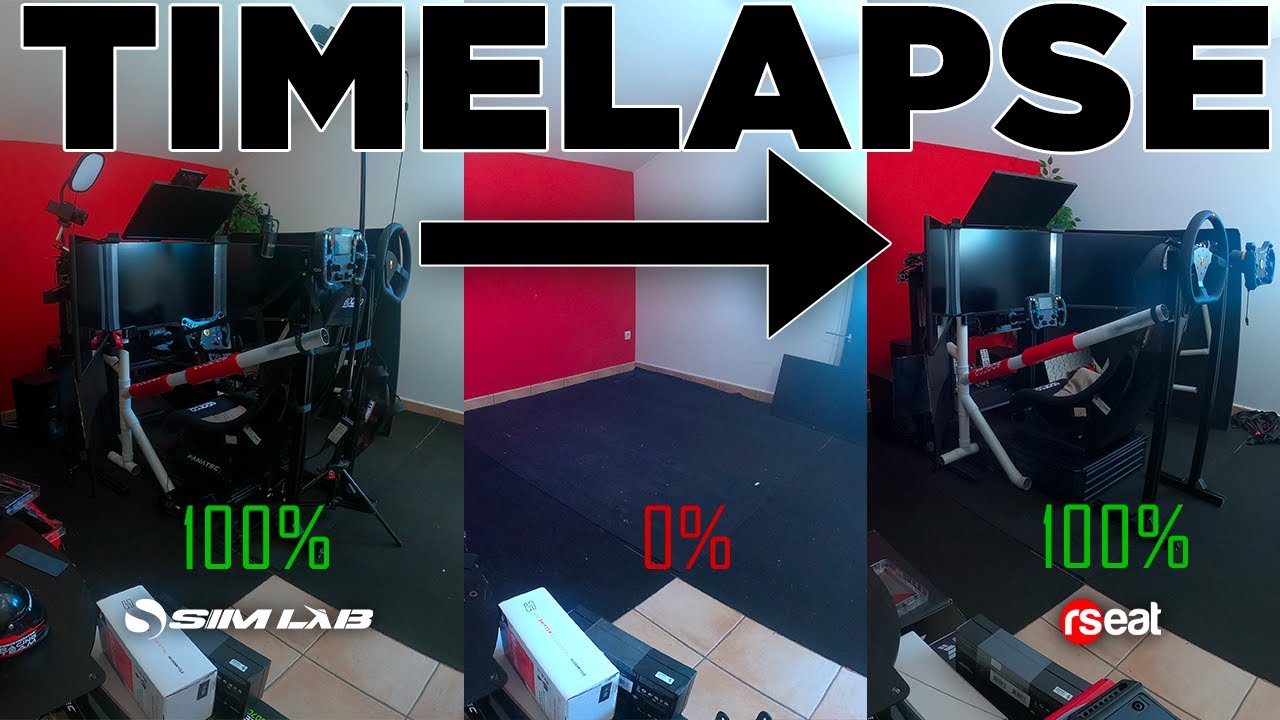
I replace my old chassis with a RSeat A1-160 and show the unboxing, assembly and rebuilding of the cockpit. The unit received differs from the A1-160 GT version described in the manual I consult, particularly its wheelbase mount. This initial review therefore concerns the hardware actually delivered and my impressions after assembly, ahead of a longer-term assessment.
Unboxing and the version received
The chassis arrives in two packages, one for profiles and the other for accessories. I sort the parts by area: seat, wheelbase and pedals. The fairly matt black finish, texture and perceived aluminium quality immediately make a good impression.
The A1-160 GT manual shows a different wheelbase support, however. My unit has a drilled plate for bottom mounting; it is not the support combining several mounting methods shown in the manual. This version suits me, but the difference should be checked when comparing equipment. I also find no feet in the packages, so I assemble it without them.
Frame and seat installation
The main frame uses 160 mm profiles with four slots. Brackets reinforce the connections, while other crossmembers serve the different supports. The video shows much of the assembly visually, without detailed commentary for every bolt.
I install my Sparco seat, which is not supplied with the chassis. Bucket-seat brackets and sliders are included. The sliders have integrated threads, making installation noticeably simpler than the separate-nut system I knew on my Sim-Lab.
The lever is slightly shorter than on my previous installation, but works properly. My main reservation here is cosmetic: some bolts are grey while the rest of the assembly is black.
Wheelbase support and perceived rigidity
The two wheelbase uprights use 120 mm profiles. The supplied plate has several holes for bottom mounting. Its arrangement keeps the base centred and allows height adjustment; moving it forwards or backwards requires loosening the relevant fasteners.
Once seated, I notice no perceptible flex, even with the steering extension installed. This mattered after my previous chassis: I wanted the support to remain stable despite the additional leverage created by that equipment. This is an observation after assembly, rather than a durability test.
Pedal deck and heel rest
The pedal support consists of two grids held between side plates. This arrangement offers numerous mounting positions. Four bolts allow height and distance adjustment; I initially choose a slight tilt.
The supplied heel rest is useful with separate pedals that do not include one. It lets me establish my position without immediately adding another plate. As with the wheelbase support, several versions exist: I describe the one received rather than every configuration in the range.
Reinstalling screens and trim
Completing the chassis does not finish the work. I replace the wheel support, decorative elements and panels that visually enclose the cockpit. Some alcantara pieces and trim need repositioning.
I also try to retain consistent distances between my seated position and the three screens. The structural change requires revisiting their placement and reinstalling the fourth screen. That adjustment time matters when replacing an already furnished cockpit.
What we liked
- Profile finish and the rigidity observed after assembly.
- Easy-to-install sliders and included seat brackets.
- The adjustable pedal support with a heel rest.
What we liked less
- Differences between the consulted manual and the supplied version.
- A few grey bolts standing out against the black finish.
At this stage, I am pleased with the purchase. The video ends by announcing a more detailed follow-up, so favourable first impressions do not replace an assessment after several months.
Join the discussion on YouTube