DIY projects / 19 November 2024
Installing a steering-wheel extension on a Simagic Alpha

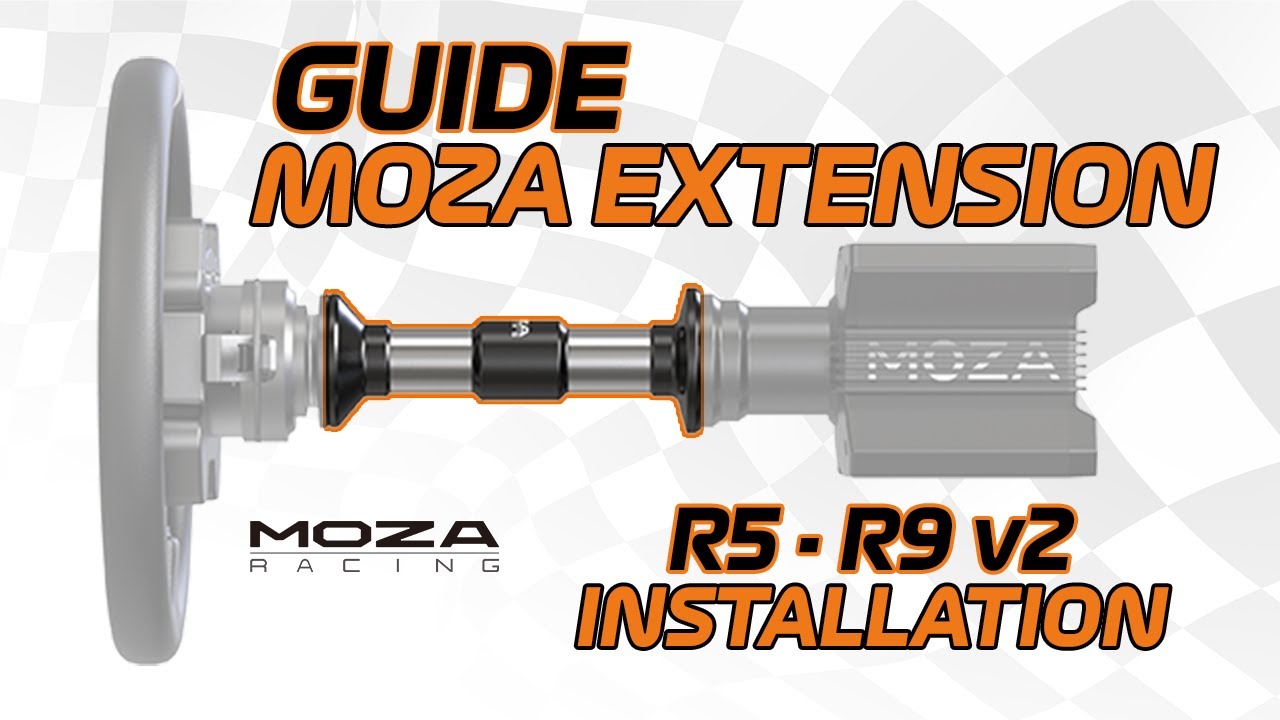
I demonstrate fitting a 150 mm steering extension to the Simagic Alpha Mini used in this video. The operation moves the quick-release head and its connection board to the end of the extension. The essential point is retaining their original orientation: the final sequence specifically shows an incorrect board position to avoid.
Removing the head and connection board
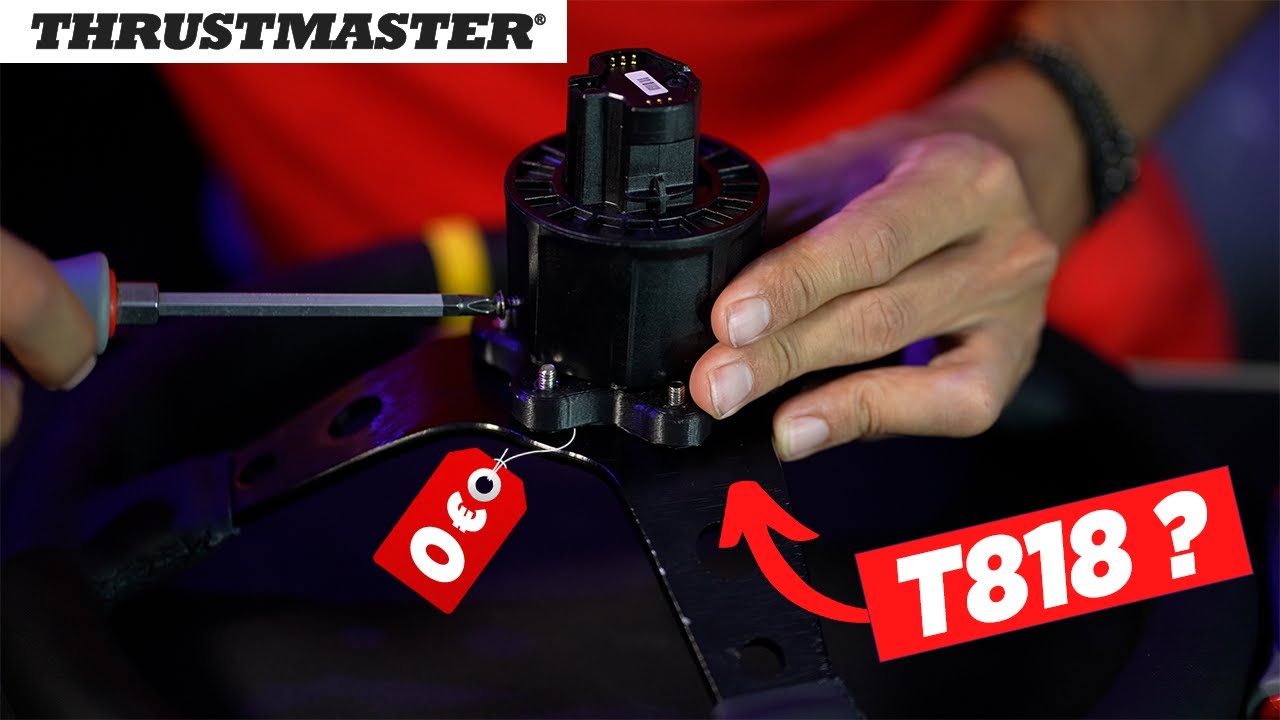
Before disassembly, I note the cover’s position relative to the locking holes and the orientation of the board contacting the wheel. I remove the six M4 quick-release head screws, followed by the two small M3 screws retaining the connection plate.
I disconnect the JST cable behind that plate and remove the head. The original screws are kept because they will secure these components at the end of the extension.
Installing the extension shaft
I connect the additional cable and pass it through the entire shaft. The video specifies its orientation: the unthreaded holes face the base.
I then secure the shaft with the round-head M4 screws supplied in the kit. The internal connection now extends to the quick release’s new position.
Reconnecting and restoring the original orientation
The extended cable passes through the head and connects to the plate. I restore the plate’s original orientation and secure it with its two M3 screws.
Finally, I refit the head while watching the cable routing, then reuse the original M4 screws. The board must align with the wheel contacts when the wheel is locked in place. The final view labelled incorrect is a reminder: the plate’s position cannot be chosen simply because the screws appear to fit.
Join the discussion on YouTube