DIY projects / 17 December 2024
Thrustmaster SF1000: USB conversion and SimHub telemetry
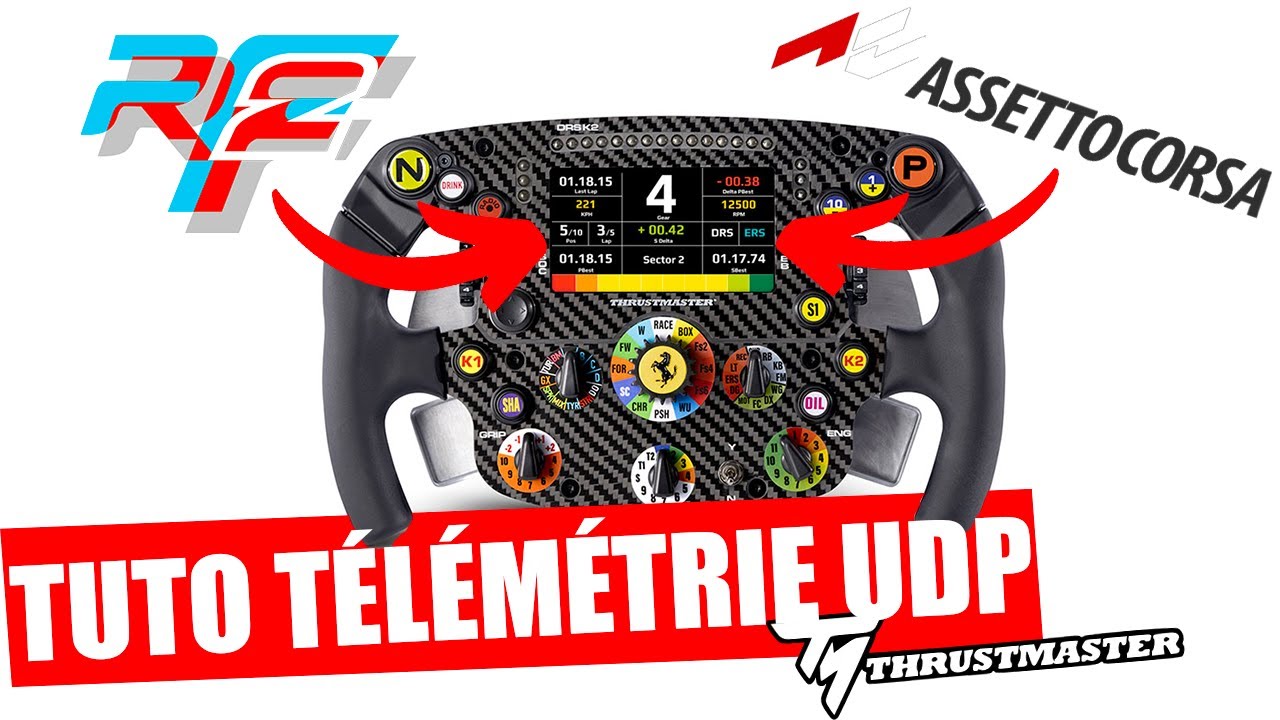
I wanted to retain my SF1000 after changing wheelbases. The USB kit bought from Mathieu gives it a second life: controls go directly to the PC, and I can choose mounting suited to my base. The video follows disassembly, adapter installation and telemetry through SimHub, while identifying the functions that remain limited.
Distinguishing the two possible conversions
The kit shown here is not the official SF1000 quick-release replacement intended for the T818 and T598. That product simplifies attachment to newer Thrustmaster bases. My project adds a USB interface to use the rim with another base, selecting a compatible quick release and any necessary adaptations.
In my example, I fit a D1 Spec-style attachment. The interface has a 70 mm bolt pattern and does not use base contacts to power the wheel. USB supplies power and carries controls. However, screen telemetry remains a UDP connection: USB conversion does not automatically replace it.
Opening the SF1000 and removing its old attachment
I begin with the rear-cover screws, then disconnect the necessary ribbon cables to open the wheel carefully. Further front screws provide access to the internal attachment. Thrustmaster’s disassembly guide follows the same broad opening and reassembly steps, although the product installed afterwards differs.
Removing the old quick release took the longest for me. The screws resist, and the video shows preparation through heating before gradual loosening. Once the part is removed, I can fit the adapter. This stage mainly requires time and patience, more than the final connection.
Fitting the adapter and checking paddles
I first attach the chosen quick release to the new adapter using the supplied screws. The assembly then fits into the wheel and attaches to its aluminium structure. I find the resulting connection firm.
The analogue paddle connectors plug into the kit. Before closing, I connect the wheel by USB to check that the axes correspond to the correct paddles; if necessary, I swap the two connections. I then attach the main ribbon cable to the wheel board and the remaining connector.
An Arduino inside the adapter reads controls and transmits them over USB. When closing the wheel, I ensure cables are not trapped in screw locations. After reassembly, Windows directly recognises a controller named SF1000 without an additional driver in my installation.
What works and what is missing
Most buttons and the paddles are usable. Two encoder push functions are not supported by the kit shown. I prefer to specify this rather than present the conversion as completely identical to original operation.
The screen receives power, but telemetry still needs configuration. The adapter’s guide explains UDP setup. This restores the SF1000’s native race-information displays without turning its screen into an independent USB monitor.
Receiving telemetry through SimHub
The solution presented uses a community plugin. I copy the module into SimHub’s directory, enable it at startup and enter the IP address required for UDP. SimHub obtains simulation data and sends it to the wheel.
This method felt simpler than my previous arrangement with intermediary software, which had caused difficulties depending on the game. The system described concerns PC use with SimHub; it does not provide a PlayStation or Xbox console conversion.
I can therefore reuse a wheel whose shape, displays and paddles I enjoy while changing bases. The result depends on three separate elements: suitable mechanical mounting, USB for controls and power, then UDP for screen telemetry.
Join the discussion on YouTube