DIY projects / 7 May 2024
Building a screen stand: Motedis, Xero Play and Vario VESA

Here I build a triple-screen stand from aluminium profiles selected through Motedis. The aim is to control cost while retaining a structure separate from the cockpit and adjustment possibilities. The video explains the parts selection and assembly order, then shows an extended musical build sequence. SIM-LAB accessories are also placed in the context of the project.
Choosing profiles and accessories
The Motedis configurator starts from a stand defined by height, width and options, including VESA mounts. Its basket provides an initial parts list. In the proposal I examine, many profiles are 8040. For my build, I simplify the selection by using more 4040 where I consider it sufficient.
At the prices shown during filming, this change reduces the delivered basket from approximately €249 to €198 with basic VESA mounts. Those are the costs of that selection at that time, rather than a guaranteed price for every size. The configurator mainly helps identify the components before adapting the basket to the intended installation.
Planning adjustment precision
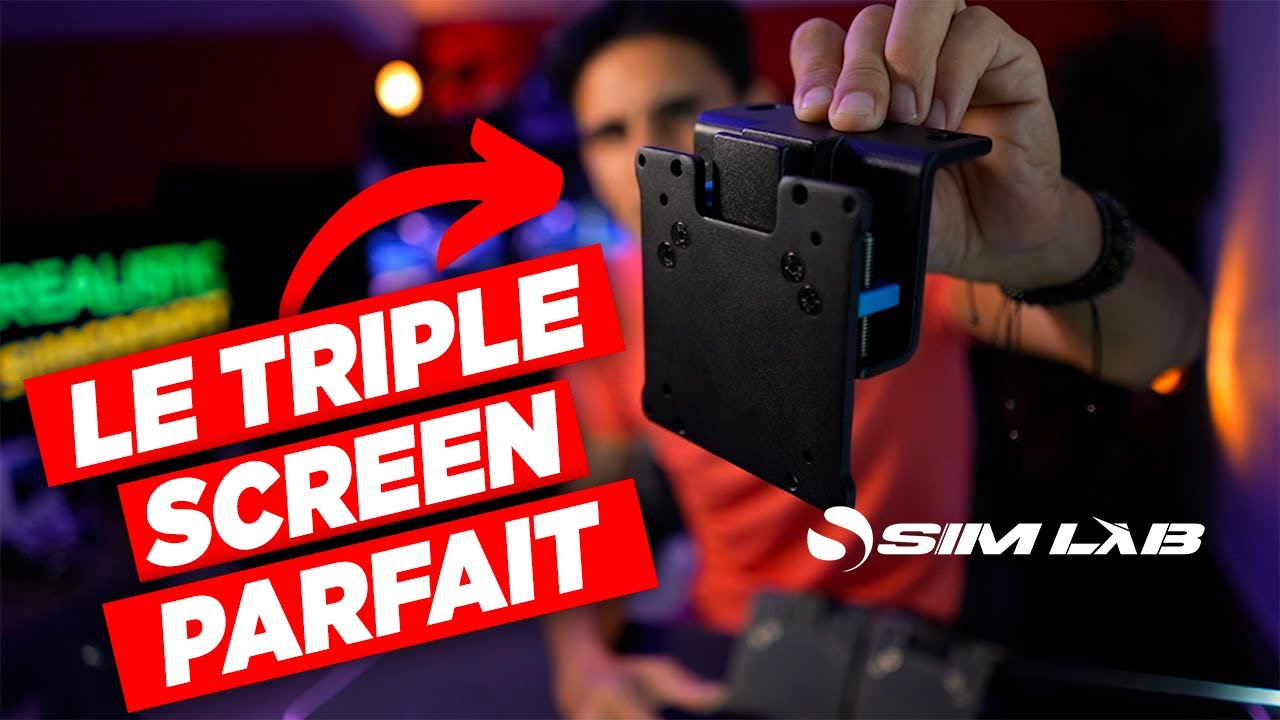
Basic VESA mounts keep spending down. I also present SIM-LAB Vario VESA mounts to make precise screen alignment easier. This increases installation cost, but addresses an important stage: positioning the three images correctly relative to each other.
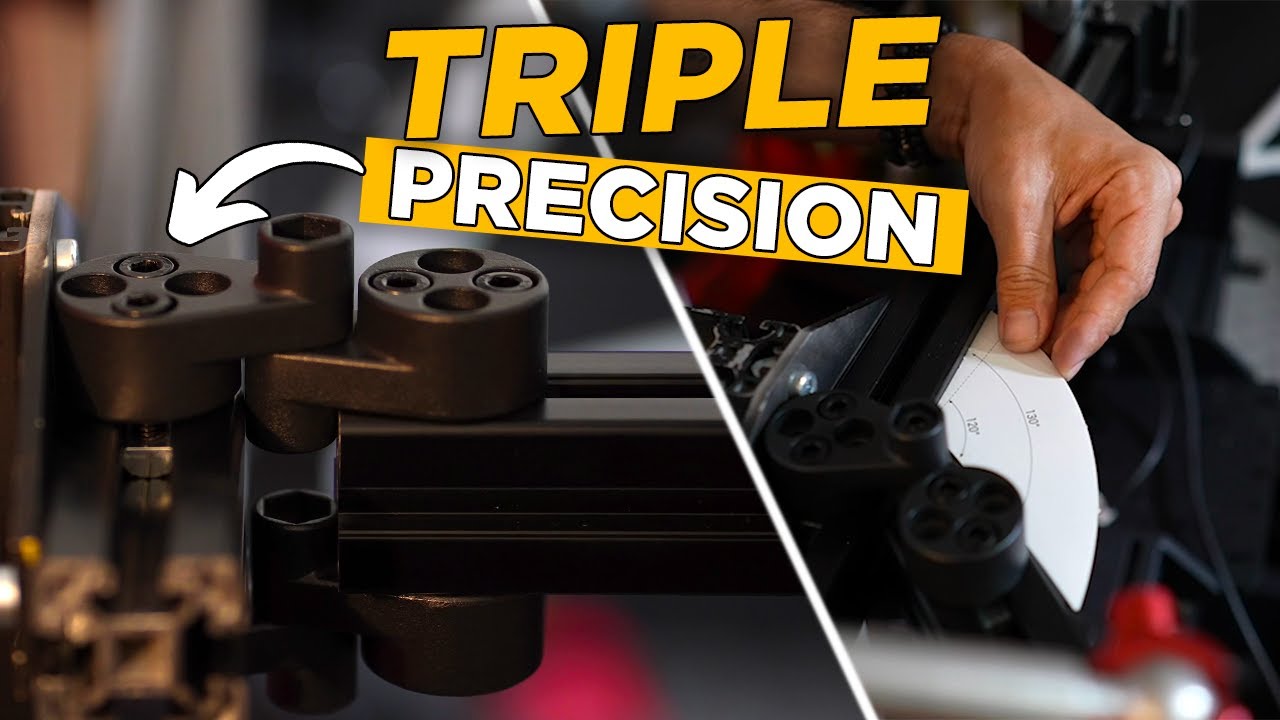
Xero Play Triple Pivot units offer another option for replacing simple pivot plates on the side arms. Their markings interest me for angle adjustment. However, I specify that they have just arrived and are not tested in this video. This presentation should therefore not be read as a complete experience-based review of those pivots.
I also compare buying black profiles, which avoid repainting the aluminium but substantially increase the cost of the basket shown.
Assembling in sequence
I first lay out the parts to distinguish the two feet, uprights, central crossbar and arms. Brackets and screws connect these components. VESA mounts then fit onto the crossbar and each arm to receive the screens.
The announced order is straightforward: build the feet, connect the central bar, then add the side sections. The remainder is demonstrated through images and music. I do not verbally provide a full set of dimensions, tightening torques or angle settings; this article therefore follows the demonstrated assembly logic without adding assumed measurements.
Keeping the stand independent
At the end, I revisit my preference for a screen stand separate from the cockpit. I also mention solutions that can later turn an integrated mount into a freestanding installation, using manufacturer parts or a profile-based construction.
This project represents my way of building a triple-screen installation: choosing the structure, balancing accessory costs and retaining freedom to position the display. Basket dimensions and options still need to match the particular installation.
Join the discussion on YouTube