Reviews / 11 January 2024
Vario VESA: aligning three screens and adding a fourth

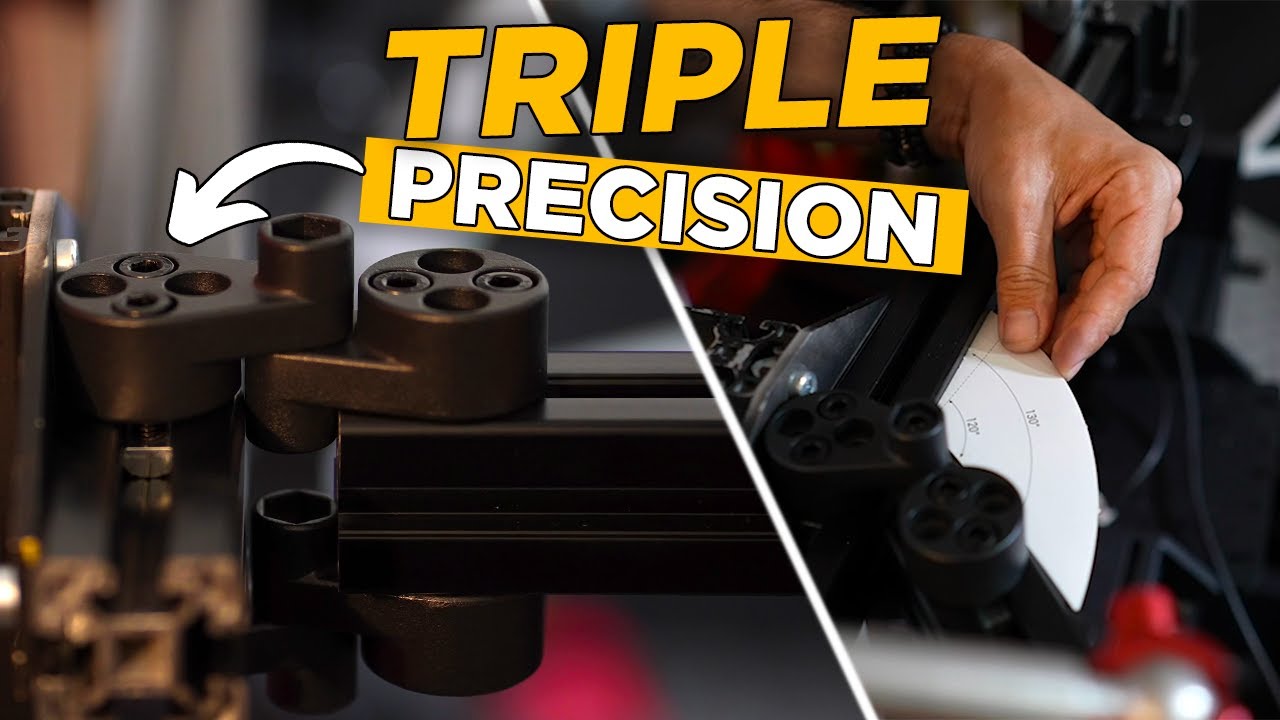
My three screens were difficult to align with conventional VESA plates. I used washers to compensate, but a knock or vibration could move everything again. I replaced those mounts with SIM-LAB Vario VESA adapters. The result is neater and more stable, although adjustment takes time. I also use the opportunity to rebuild the support for my fourth screen.
Starting with the centre screen
Each adapter has one part attached to the monitor and another fitted to the aluminium profile. The kit is comprehensive and straightforward to assemble with the instructions. Its shape also suits my monitors’ recessed VESA locations, which had made installation awkward with the old plates.
I begin with the centre screen as the reference for both sides. The overall monitor angles are set on the stand itself. Vario VESA then provides fine corrections rather than replacing that initial adjustment.
Adjusting height, adjoining edges and tilt
The two vertical screws raise or lower the screen and correct its level when adjusted together or separately. The lateral screws bring the edges together. The lower screw adjusts tilt.
The process requires repeated checks from the driving seat. A second person makes those back-and-forth adjustments much easier. Achieving the result I wanted took a few hours, considerably longer than assembling the brackets.
I fit the bezel-hiding strips afterwards. They conceal the joins more effectively when the displays are already aligned. Once adjusted, the assembly stays stable, and I can remove and refit a monitor without starting the alignment again.
Reusing a bracket for the fourth screen
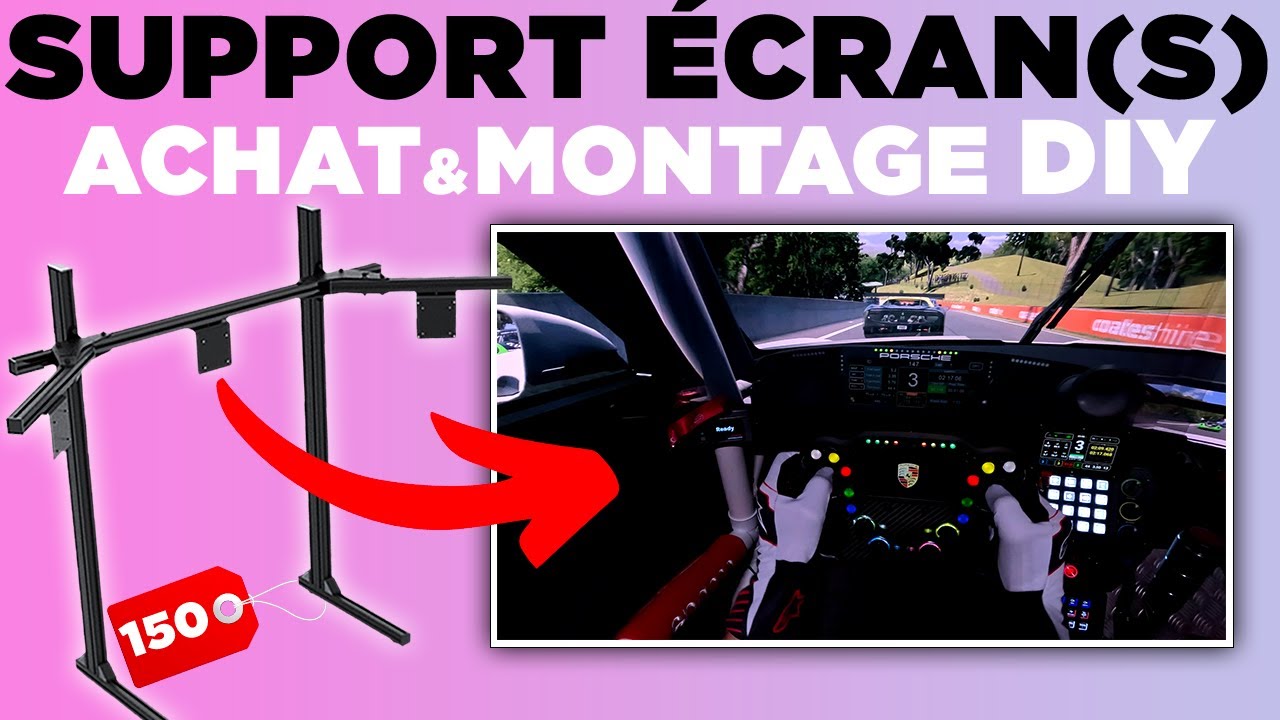
My old desk arm was convenient, but its attachment to the extrusion and tilt range no longer suited me. I built a support from spare aluminium profiles, inspired by a JCL arrangement, and reused one of the released VESA plates.
Two brackets connect the support to the centre crossmember. It is heavy and awkward to position alone, but the finished arrangement looks more coherent and tidy.
What we liked
- Precise corrections and stability once adjusted.
- Removing a screen without losing its alignment.
What we liked less
- Initial adjustment took much longer than expected.
- The extra cost compared with ordinary plates: useful, but not essential.