My sim rig / 6 December 2023
Cockpit update: Vario VESA, button boxes and vibration
This setup tour shows my cockpit at the end of 2023, with the modifications built around the Sim-Lab GT1 Evo. I go through the triple screens, controls, vibration system and 3D-printed parts. It is a snapshot of the rig at that date: some elements are still temporary, while several changes discussed in the video are plans rather than completed upgrades.
A GT1 Evo adapted through successive tests
I lowered the chassis and added profiles for accessories and lighting. At this point, I use a MOZA R9 with its extension and KS wheel, fitted with MOZA's desk-and-rig mounting bracket.
The pedals remain inverted Fanatec V3s. I already have VRS pedals waiting to be installed, but still prefer the familiar Fanatec feel and vibration. The switch is therefore not presented as a completed upgrade.
A 12 V fan provides some relief from Réunion's heat. It is simply a cooling fan, rather than a telemetry-driven system controlled by an Arduino.
Keep the controls within reach
I changed the orientation of the side support to gain room. It holds a Heusinkveld shifter and a handbrake bought through AliExpress, with a small wireless keyboard and mouse support nearby.
The Stream Deck has a carbon-look printed surround. A Porsche-style button box and an iPhone 6 running a SimHub dashboard complete the controls. Each has a different role: shortcuts, physical buttons and race information, rather than a single screen trying to do everything.
Elsewhere in the room, my FLSUN QQ-S printer produces parts including VESA button-box brackets and transducer mounts. That lets me adapt small components to the space actually available.
Integrate vibration without clutter
The Dayton Audio BST-1 transducers from the earlier tutorial are now part of the rig. The Nobsound amplifier is attached with Dual Lock. The front transducer sits beneath the pedals on a printed bracket secured with wing nuts.
This tour mainly clarifies the actual mounting positions, which were not always obvious in the first tutorial. I do not introduce a new effects profile here: the changes concern integration and easier removal.
Refine the screen alignment
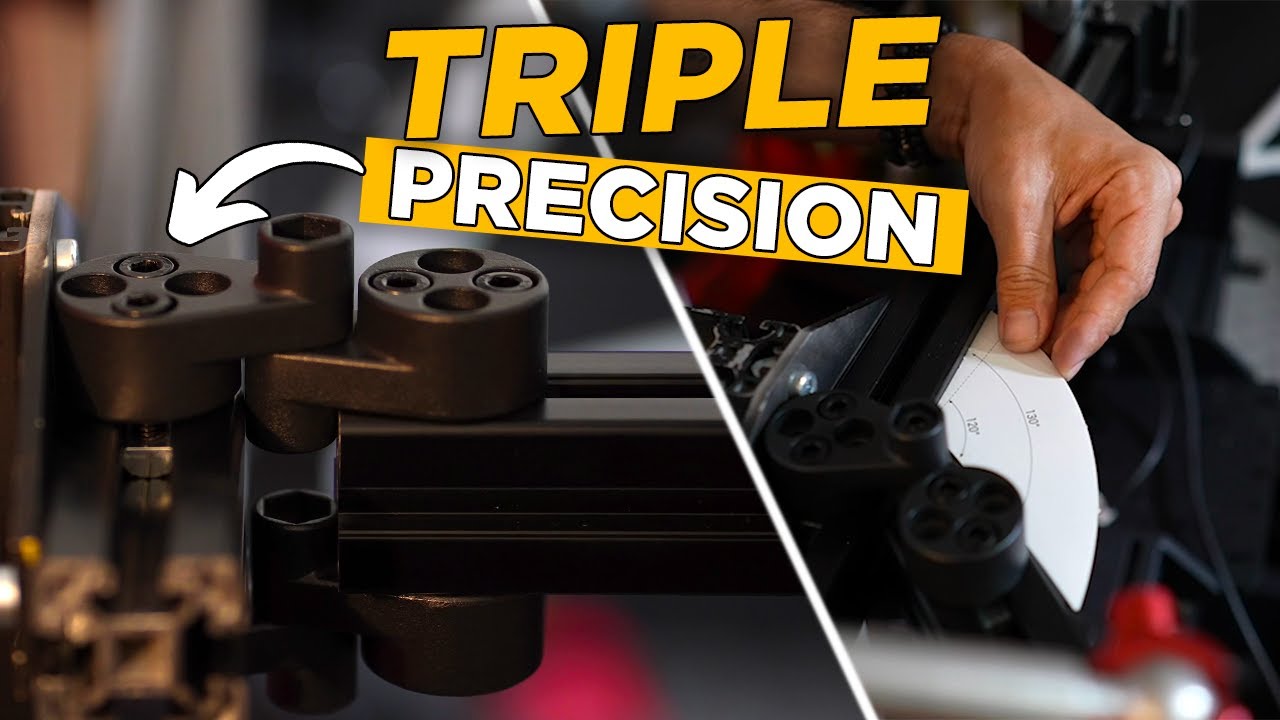
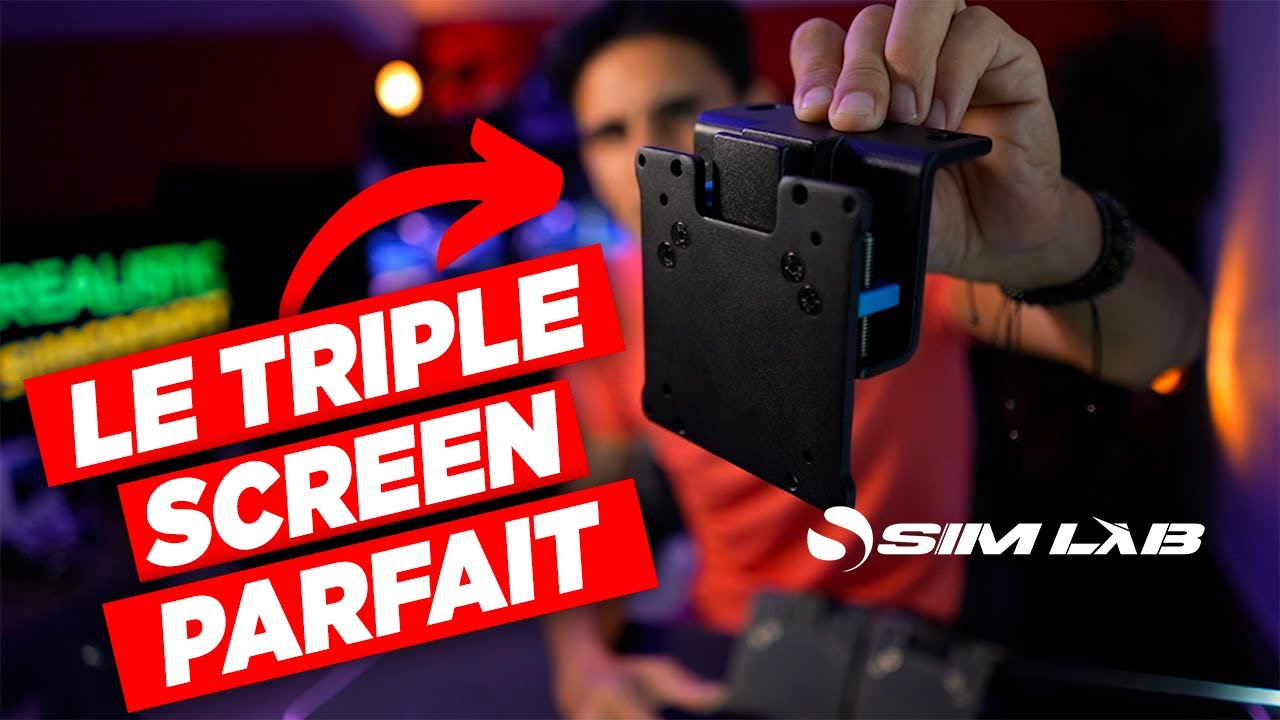
The 32-inch triple-screen setup now uses Sim-Lab Vario VESA mounts. From my driving position, the result with the bezel-hiding kit looks tidy. Printed extensions adapt that kit to the screens.
However, I express reservations about the Vario VESA mounts and plan a separate assessment. This video does not explain every reason or provide a complete adjustment procedure.
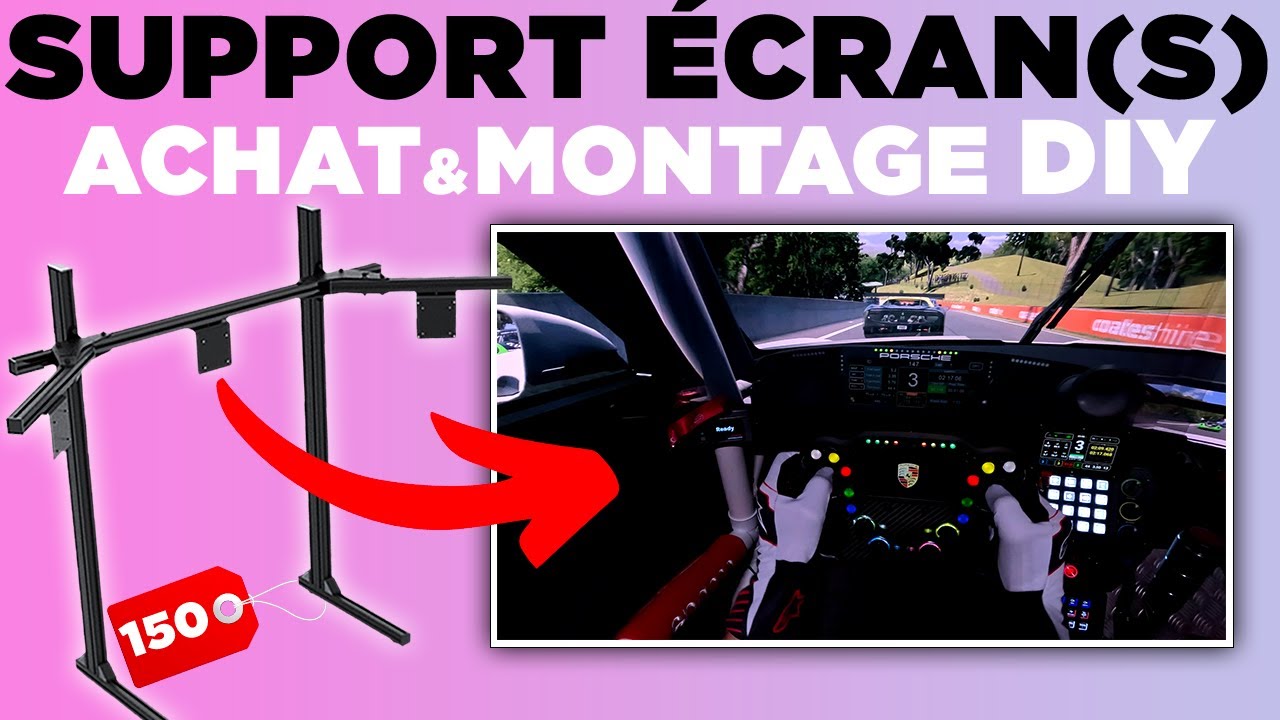
The fourth screen also has a new support: profiles replace its old articulated arm, which moves to the desk. In this installation, I have combined profiles from several suppliers.
Keep the scenery removable
Painted PVC tubes, metal panels, covered surfaces and a side net extend the cockpit around the seat. The straps unclip to make access easier. I also plan to move one light onto a tripod while retaining the profiles used for mounting other parts.
The rig develops through small revisions. This tour shows how screens, lighting, controls and homemade components fit together, alongside the adjustments still needed in my 2023 installation.
Join the discussion on YouTube