My sim rig / 9 February 2026
Motion cockpits: comparing three screen configurations

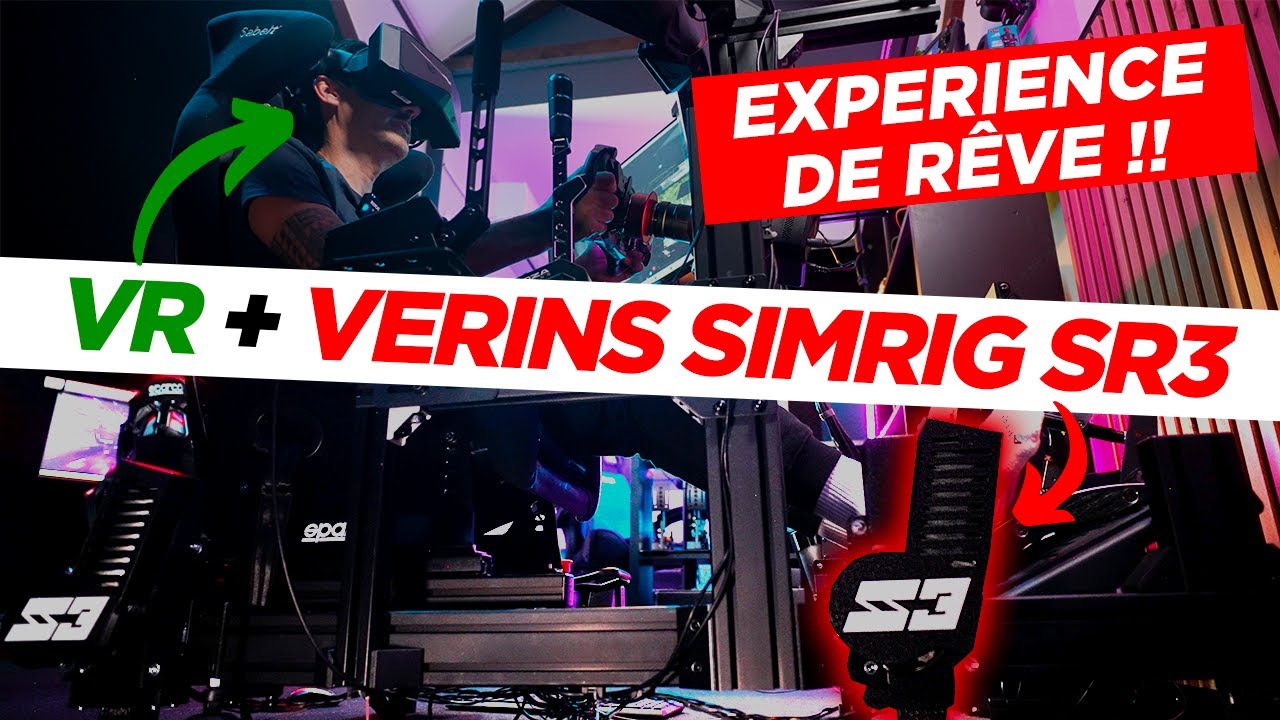
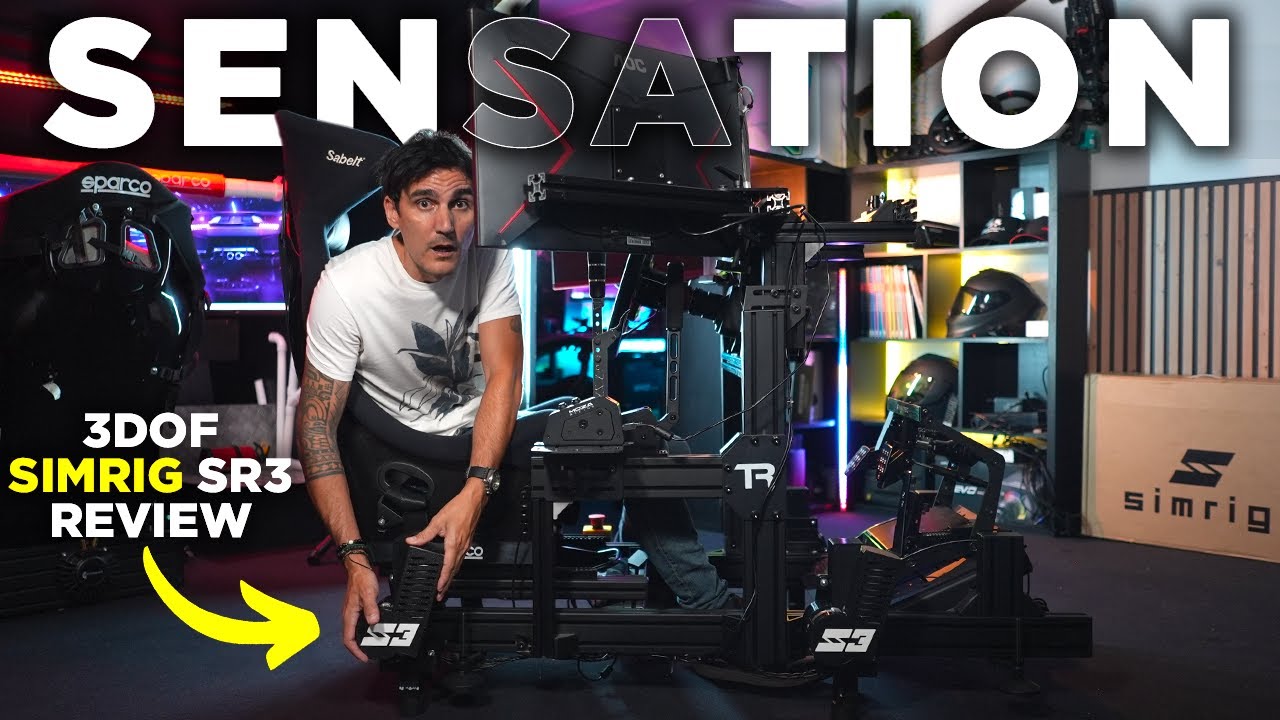
With the Simrig SR3 actuators lent by Stealth-Gamer, I compared three ways of arranging screens and the wheel around a motion cockpit. I wanted to understand why some configurations felt coherent to me and others less natural. This account combines installation, settings and personal impressions: the aim is not to impose one correct method, but to show the compromises I actually encountered at home.
Three configurations and one question
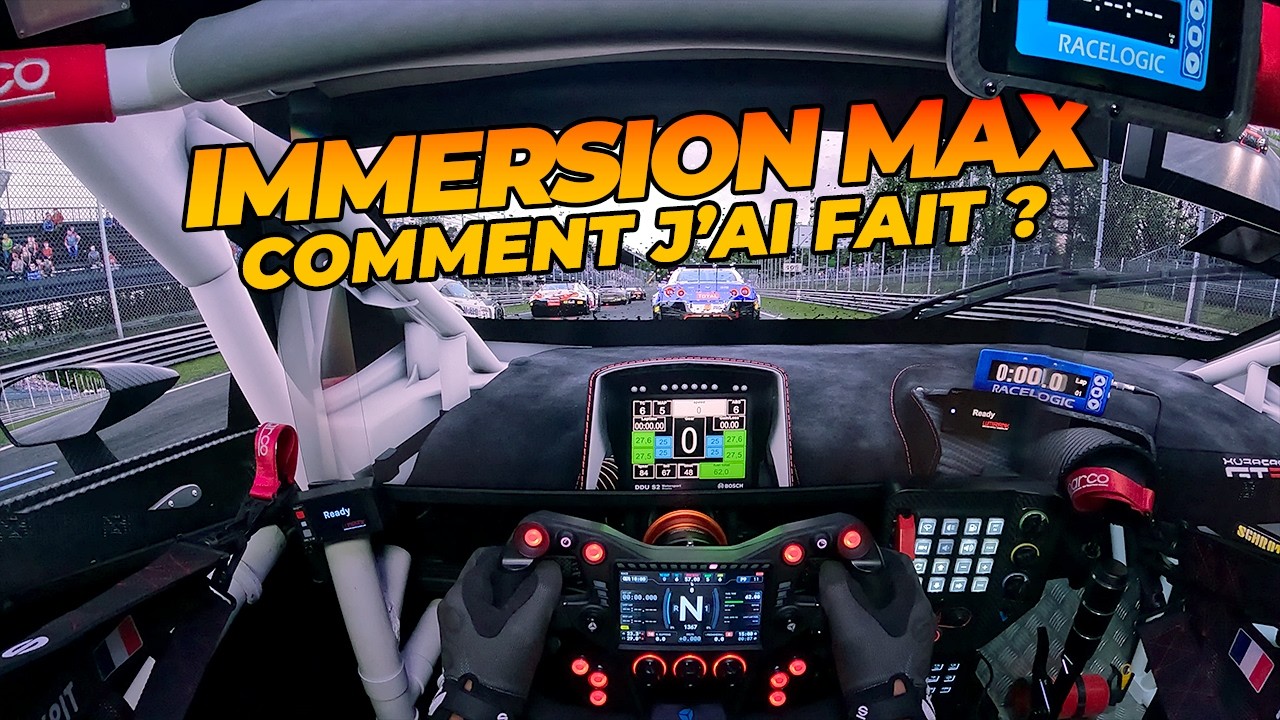
I begin with the screens attached to the chassis. I then put them on an independent stand while keeping the wheel on the moving cockpit. Finally, I attach the wheel to the screen structure so only the seat and pedals move. An onboard camera helps show the mismatch between my physical reference points and the displayed dashboard.
The system provides three degrees of freedom: pitch, roll and vertical movement. I also tried flight simulation, but the 70 mm travel convinced me less during climbs and descents. The software labels that use as beta at this point. I therefore focus this comparison on driving.
1 — Screens integrated into the chassis
The first installation uses three 27-inch Full HD screens, mounted with reused parts from my Trak Racer TR80. It is a fairly simple personal build rather than a structure designed specifically for these tests. The screens follow the seat and wheel, keeping their relative position coherent in my field of view.
I disable head movement in the simulation to avoid adding visual displacement to the hardware movement. In Simrig, I also favour following the track geometry: I want to feel changes of slope while retaining bumps and kerbs.
I immediately enjoy the result. Climbing Raidillon, surface irregularities and small impacts bring the session to life. Some corrections remain too aggressive for my taste and could be softened. More intense settings I had tried previously sometimes caused discomfort; during the laps shown here, I feel comfortable.
The noises also need separating: some come from the worn seat support and mountings rather than only the actuators. This configuration provides plenty of sensation, without exactly reproducing how a body moves inside a real car.
2 — Fixed screens, moving cockpit
I switch to three 32-inch screens on an independent stand. The practical benefit is clear: larger monitors become easier to install without directly transmitting every jolt to them. I have not damaged my integrated screens during these tests, so questions about longevity remain an installation consideration rather than a demonstrated result here.
The first task is to prevent contact between the base and screens. I use Simrig’s axis test, then combinations of axes, to check clearance throughout the travel. This requires keeping the base fairly low. Placing the screens behind it would simplify the arrangement but increase their distance from my eyes.
On track, what mainly bothers me is the real wheel moving in front of a dashboard displayed on fixed screens. I experiment with iRacing camera settings, including head and chassis motion, without finding the coherence I want. Bumps correspond to the sensations, but larger movements, especially roll, seem misaligned.
My settings include substantial roll, which makes the effect more pronounced. Someone using smaller movements may feel differently. I mention Qubic System’s Screenway as a possible approach to view correction, but do not test it in this video. Other systems or a 6DOF installation also remain avenues to explore.
3 — Fixed screens and wheel, moving seat and pedals
The third arrangement takes several hours and more profiles. The actuators move beneath the seat and pedal section of my main cockpit; the wheel, screens and accessories sit on a separate structure. It almost requires building a second chassis, and my temporary installation retains some flex that would need reinforcement.
This layout resembles a seat mover, with vertical movement added. The wheel stays aligned with the dashboard while my body moves relative to it. Straps and fixed cockpit trim make those movements more visible and increase my immersion.
I change the settings considerably: roughly 5% pitch in each direction, more roll and little vertical movement. I disable track-geometry following and actuator gearshift jolts. My bass shaker retains the latter effect, with a vibration I prefer. I keep more detail on rumble strips and choose normal intensity rather than the raw mode.
What I take from the tests
The final installation feels less aggressive and more coherent with the body movement I seek. Moving pedals do not bother me. However, I lose some of the larger terrain changes that made the integrated-screen setup enjoyable.
It also raises a budget question: I use only part of the SR3’s travel and capacity while adding another structure. A less powerful system or seat mover might meet this need, but I cannot conclude without trying them. A simple seat mover also lacks the same vertical movement.
I ultimately keep this third configuration to continue the experience. My choice depends on my settings and visual reference points; above all, these tests show the need to consider motion, screen position and wheel placement together.
Join the discussion on YouTube