In September 2023, I tour the room where I drive and produce videos. At this point, the cockpit combines a Sim-Lab GT1 Evo, a Thrustmaster SF1000 on a T818, and inverted Fanatec V3 pedals. I focus on how the screens, scenery, controls and recording equipment fit around that setup, alongside the space used for editing and preparing the channel's videos.
A room for driving and filming
The desk holds editing and recording equipment, including a Mac M1, a PC and a GoPro 11. Around the cockpit, separate mounts position the camera, webcam and Rode microphone without placing them on the controls.
The fourth screen uses a desktop monitor arm. Storage brings together wheels, tools and motorsport souvenirs: the room also acts as a workshop for the cockpit's regular changes.
From a car to a spacecraft
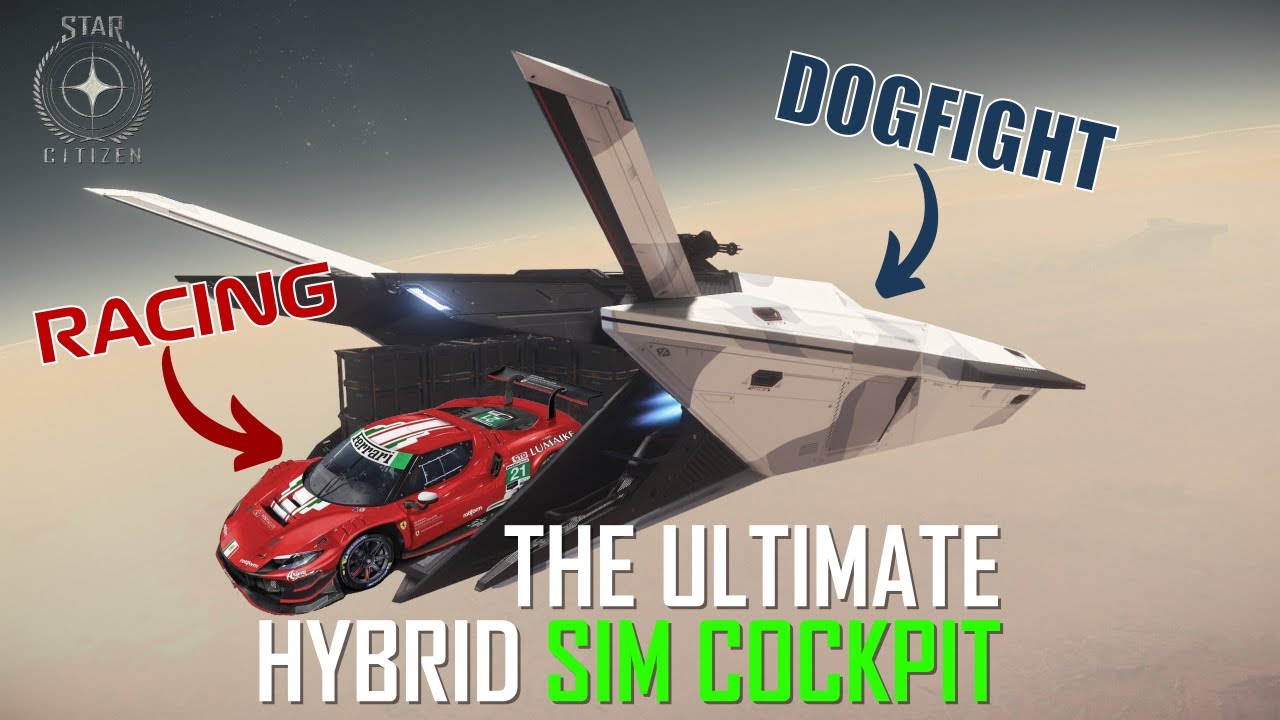
The GT1 Evo is arranged for simracing, but also has movable joystick supports. I can position them for space simulation, mainly Star Citizen.
The change is not instantaneous: a few accessories and a strap need moving. The benefit is reusing the same seat and structure without dedicating a second installation to that activity.
Extend the screens with simple physical pieces
Three 32-inch Corsair screens with bezel-hiding accessories surround the SF1000. The scenery uses white-painted PVC tubes, metal panels and dark covers.
Alcantara-look and carbon-look surfaces are cut and mounted on simple backing, including cardboard. Some sections can move to suit the displayed car. They are not bodywork components: their purpose is to visually connect the physical cockpit with the game interior.
Spread out controls and information
An AVS button box, a Stream Deck and a USB handbrake sit beside the cockpit. The Stream Deck handles simulation commands as well as launching applications and controlling lights for recording.
The Lumirank receives data through SimHub. An iPad displays Lovely Dashboard, while the SF1000 retains its own screen. This arrangement keeps several sources of information visible around the wheel. The tour finishes with the side strap being attached: a concrete look at my installation at the time, before the next changes.
Join the discussion on YouTube