DIY projects / 10 June 2025
Simagic NEO X: DIY mounting, SimHub and the ATSR plugin
After the first NEO X review, I move to two practical projects: fitting a dished rim behind the hub, then using SimHub and the ATSR module to expand its lighting. The installation requires additional parts and means giving up the paddles. The software section mainly shows how to connect the device, plugin and profile correctly before customising telemetry.
What rear mounting changes
The NEO X can operate on a Simagic base or through USB with another base, provided the necessary mounting and adaptations are available. Here, the dished rim sits behind the hub. Buttons remain at the front, but space no longer permits paddles or the MagLink connector. I therefore plan a separate shifter and, for USB, a conventional cable of sufficient length.
On an Alpha or Alpha EVO base, I can retain native power and communication by transferring the quick-release board. However, the SimHub use demonstrated later requires the wheel’s USB connection to the PC, even with a Simagic base.
Parts and disassembly
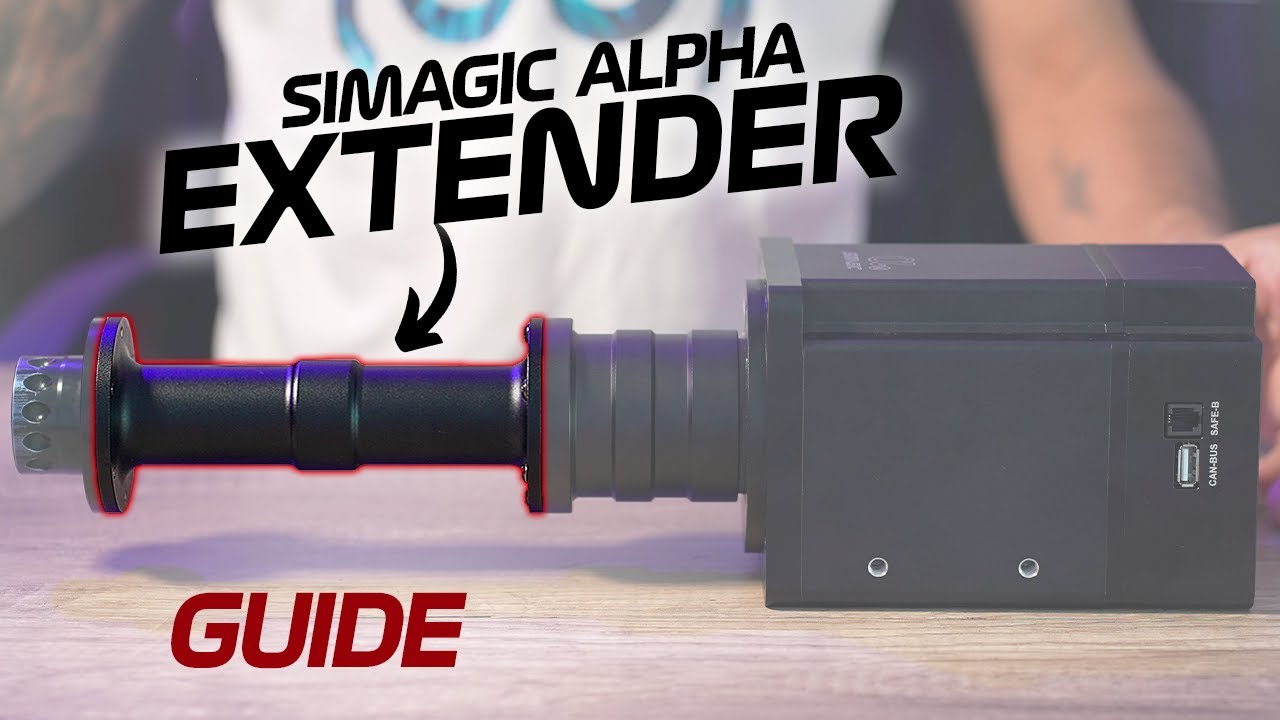
I need the hub, a rim with a 70 mm bolt pattern, a quick release matching that pattern and a printed spacer. The release supplied with the NEO X uses a 50 mm pattern, so it does not suit this particular assembly. My example’s spacer is two centimetres tall; its height can be adapted by changing Z-axis scaling before printing.
I remove the four rear-plate screws, then carefully disconnect USB and quick-release connectors. I separate the release from the plate. To retain native Simagic operation, I recover its small circuit board and attach it inside the new 70 mm quick release. This step serves a different purpose in the fully USB variant.
Assembling rim, spacer and quick release
The stack order matters: rear plate, spacer, rim, then quick release. I align the holes and locking orientation before tightening. Screws pass through the assembly; their length must match the chosen spacer. I route the angled USB-C cable before closing to avoid placing pressure on its connector.
Reconnecting the small internal cables requires more care than tightening screws because space and available length are limited. I reconnect USB and, if retained, the quick-release board, then refit the plate with its four screws.
A taller spacer can create clearance, but also moves the hub forward relative to the rim and may make the internal Simagic cable too short. I then demonstrate a version without that board for USB use. Height therefore needs to match the actual assembly, rather than simply creating more room.
Adapting the connection to another base
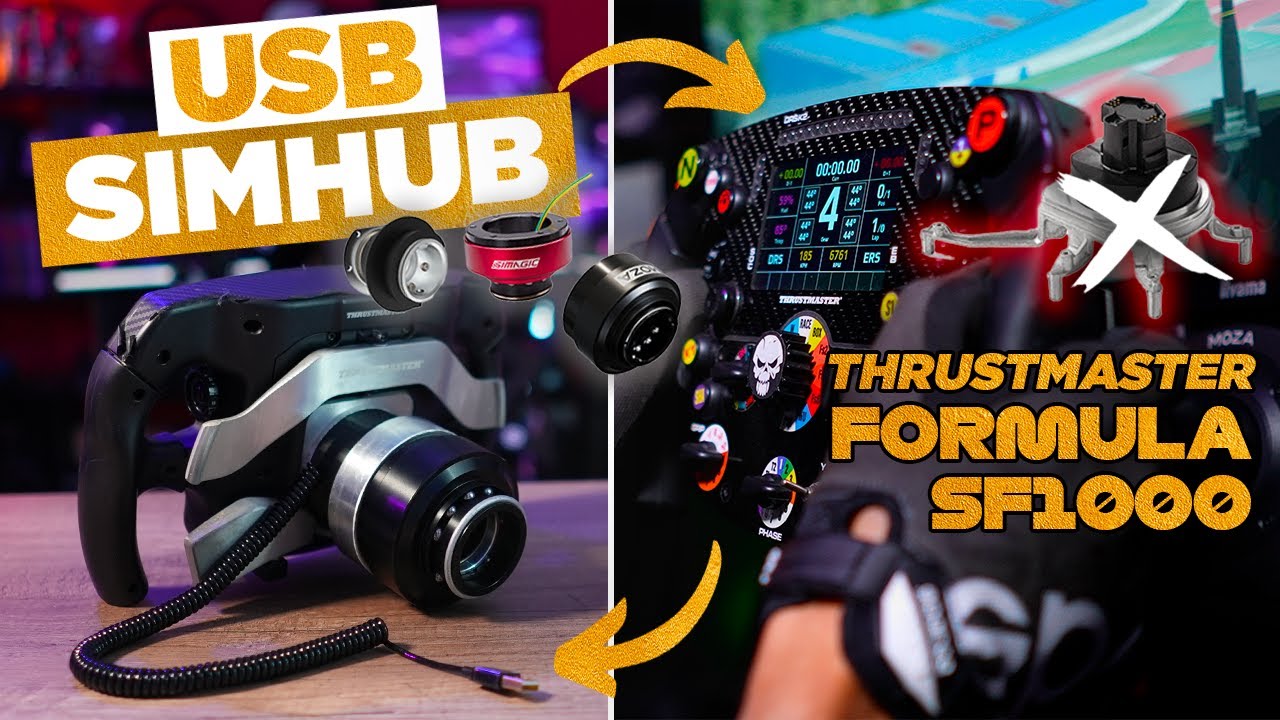
I present solutions using a D1 Spec interface with Fanatec or Thrustmaster. With Fanatec, the installation also needs to retain the electronic recognition required by the base through a Podium Hub or the SRM solution discussed. For the T818 or T598, I use a suitable hub with the brand’s Next-Gen adapter.
The aim is to change wheels without constantly removing their quick releases. These mechanical adaptations do not replace the USB connection carrying NEO X controls.
Adding the NEO X to SimHub and installing ATSR
I first check that SimPro Manager recognises the wheel through USB. It already provides lighting adjustment. In SimHub, I then add the NEO X to the device list. Two elements in the ATSR download must be distinguished: the plugin and the lighting profile specific to the NEO X.
In the example shown, I extract the archive, copy the plugin library into SimHub’s installation folder and restart the software. I enable the new module and its menu entry. I then return to the NEO X device to import the supplied LED profile. Without this association, installing the plugin alone does not reproduce the demonstrated configuration.
Assigning effects and checking them in the game
ATSR offers themes, an idle state, animations and control colours. In “Device Hub”, I select the NEO X and assign the desired information: flags, ABS, a car to the left or right, fuel or brake bias. Encoder rings can also display throttle or brake input to demonstrate operation.
I launch iRacing to check the connection between telemetry and lighting. A lighting assignment does not replace the control assignment in the game: if an encoder adjusts traction control or brake bias, the choices in both applications must correspond. Encoder display modes and gradients can then be customised. Some fields require copying the colour code rather than simply clicking the palette.
This video provides a foundation for mounting and configuration rather than an inventory of every ATSR option. Once plugin, device and profile are correctly associated, I can refine effects around my use and the information I want to read on the wheel.
Join the discussion on YouTube